DIY Chip Repair Kit
Expert Advice
Industry Leader
Safe for Natural Stone
Trusted by Professionals
About the Product
Guide
Reviews
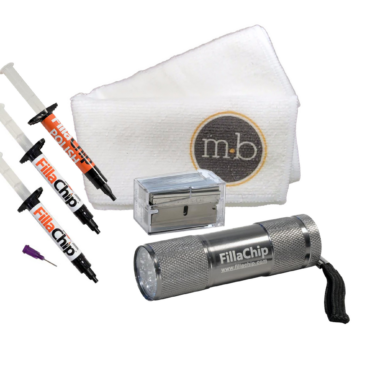
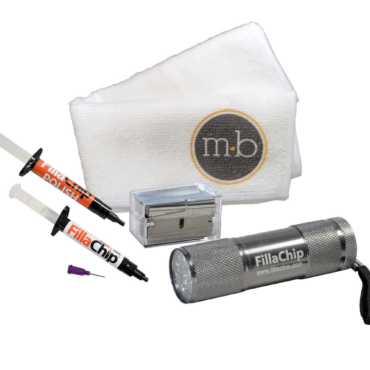
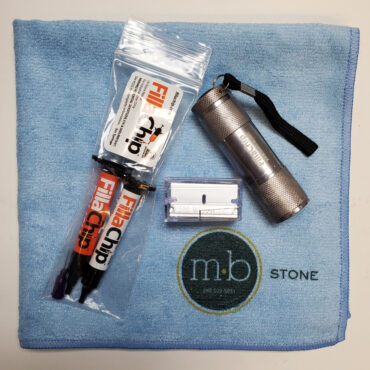
If you’re looking for the ultimate on-the-job-site repair solution for any stone imperfection, look no further! Our DIY Chip Repair Kit is a cutting-edge innovation in stone repair, and has got you covered. Developed by stone professionals, this kit is designed to make your repair process super fast and achieve flawless results that will leave you amazed. Inside the DIY Chip Repair Kit, you’ll find everything you need to fix those pesky nicks, chips, and gouges, bringing your stone surfaces back to their original glory. No more worries about unsightly blemishes ruining the elegance of your stone installations – this DIY Chip Repair Kit is here to save the day! Experience the convenience and efficiency of our DIY Chip Repair Kit, specially designed with fabricators like you in mind. Say goodbye to time-consuming repairs and hello to a flawless finish that will wow your clients and leave them delighted. Don’t miss out on this incredible opportunity to revolutionize your stone repairs. Get your hands on the DIY Chip Repair Kit today and let it become your trusted companion on every job site. Trust us, you won’t be disappointed!
Preparation:
- Be certain to remove any excess residue off the surface of the stone.
- Use rubber gloves at all times when handling the product.
- Clean the surface with something like our Easy Oxy Daily Cleaner.
Directions:
- Use rubber gloves. Grab your clear or color glue syringe and remove the black tip by unscrewing it from the syringe.
- Attach the included purple tip to the syringe by screwing it on.
- Fill the chipped area with the glue syringe. (Thickness should be 1/16 to 1/8 of an inch. If the chip is deeper, you will need to repair in layers.) Do not overfill.
- Place the clear release sheet on top of the glue and gently tap on it to flatten to the surface area. (You should not have a lot of excess around the chip.)
- Grab the included UV light and turn it on. Place the UV light on the release sheet. The light should remain on the release sheet for a minimum of 60 seconds. You may leave it longer if you press on the release sheet and you see the glue is still in a fluid form.
- If your chip is deeper then you will repeat steps 3-5 until the chip is filled completely to the surface top.
- Once the glue has completely cured, use an included razorblade and shave any excess off to level. (Please see video below for how to shave without scratching your stone.)
- Once you have shaved off all the excess, grab the polish and attach a purple tip to this as well. Place a drop of polish on the repair and rub in with the microfiber cloth. This blends the repair to match the stone finish.
- Clean your surface with a pH-neutral cleaner like MB-5 Stone & More.